• General
  • First kit assembly + mandelbrot

Building the BE was my first attempt at putting a kit together, and I have to say, I'm hooked! I definitely had a lot of trouble with that video chip, with lots of bridging or poor contacts that had to be fixed, and at one point I had to hot air the chip off the board to carefully fix some pins that had been bent and soldered together. It worked out in the end though, and now I have a fully working board. The instructions for flashing on the build page weren't really detailed enough for a complete noob like me because I didn't know which wires to connect and the commands seem to no longer apply to the most recent version of the tool, but a thread in this forum helped a lot.

If I can wrap my head around Fusion 360, my plan for this board is to fit it into a 3d printed case with a lovely donor mechanical keyboard that I happen to have going spare.

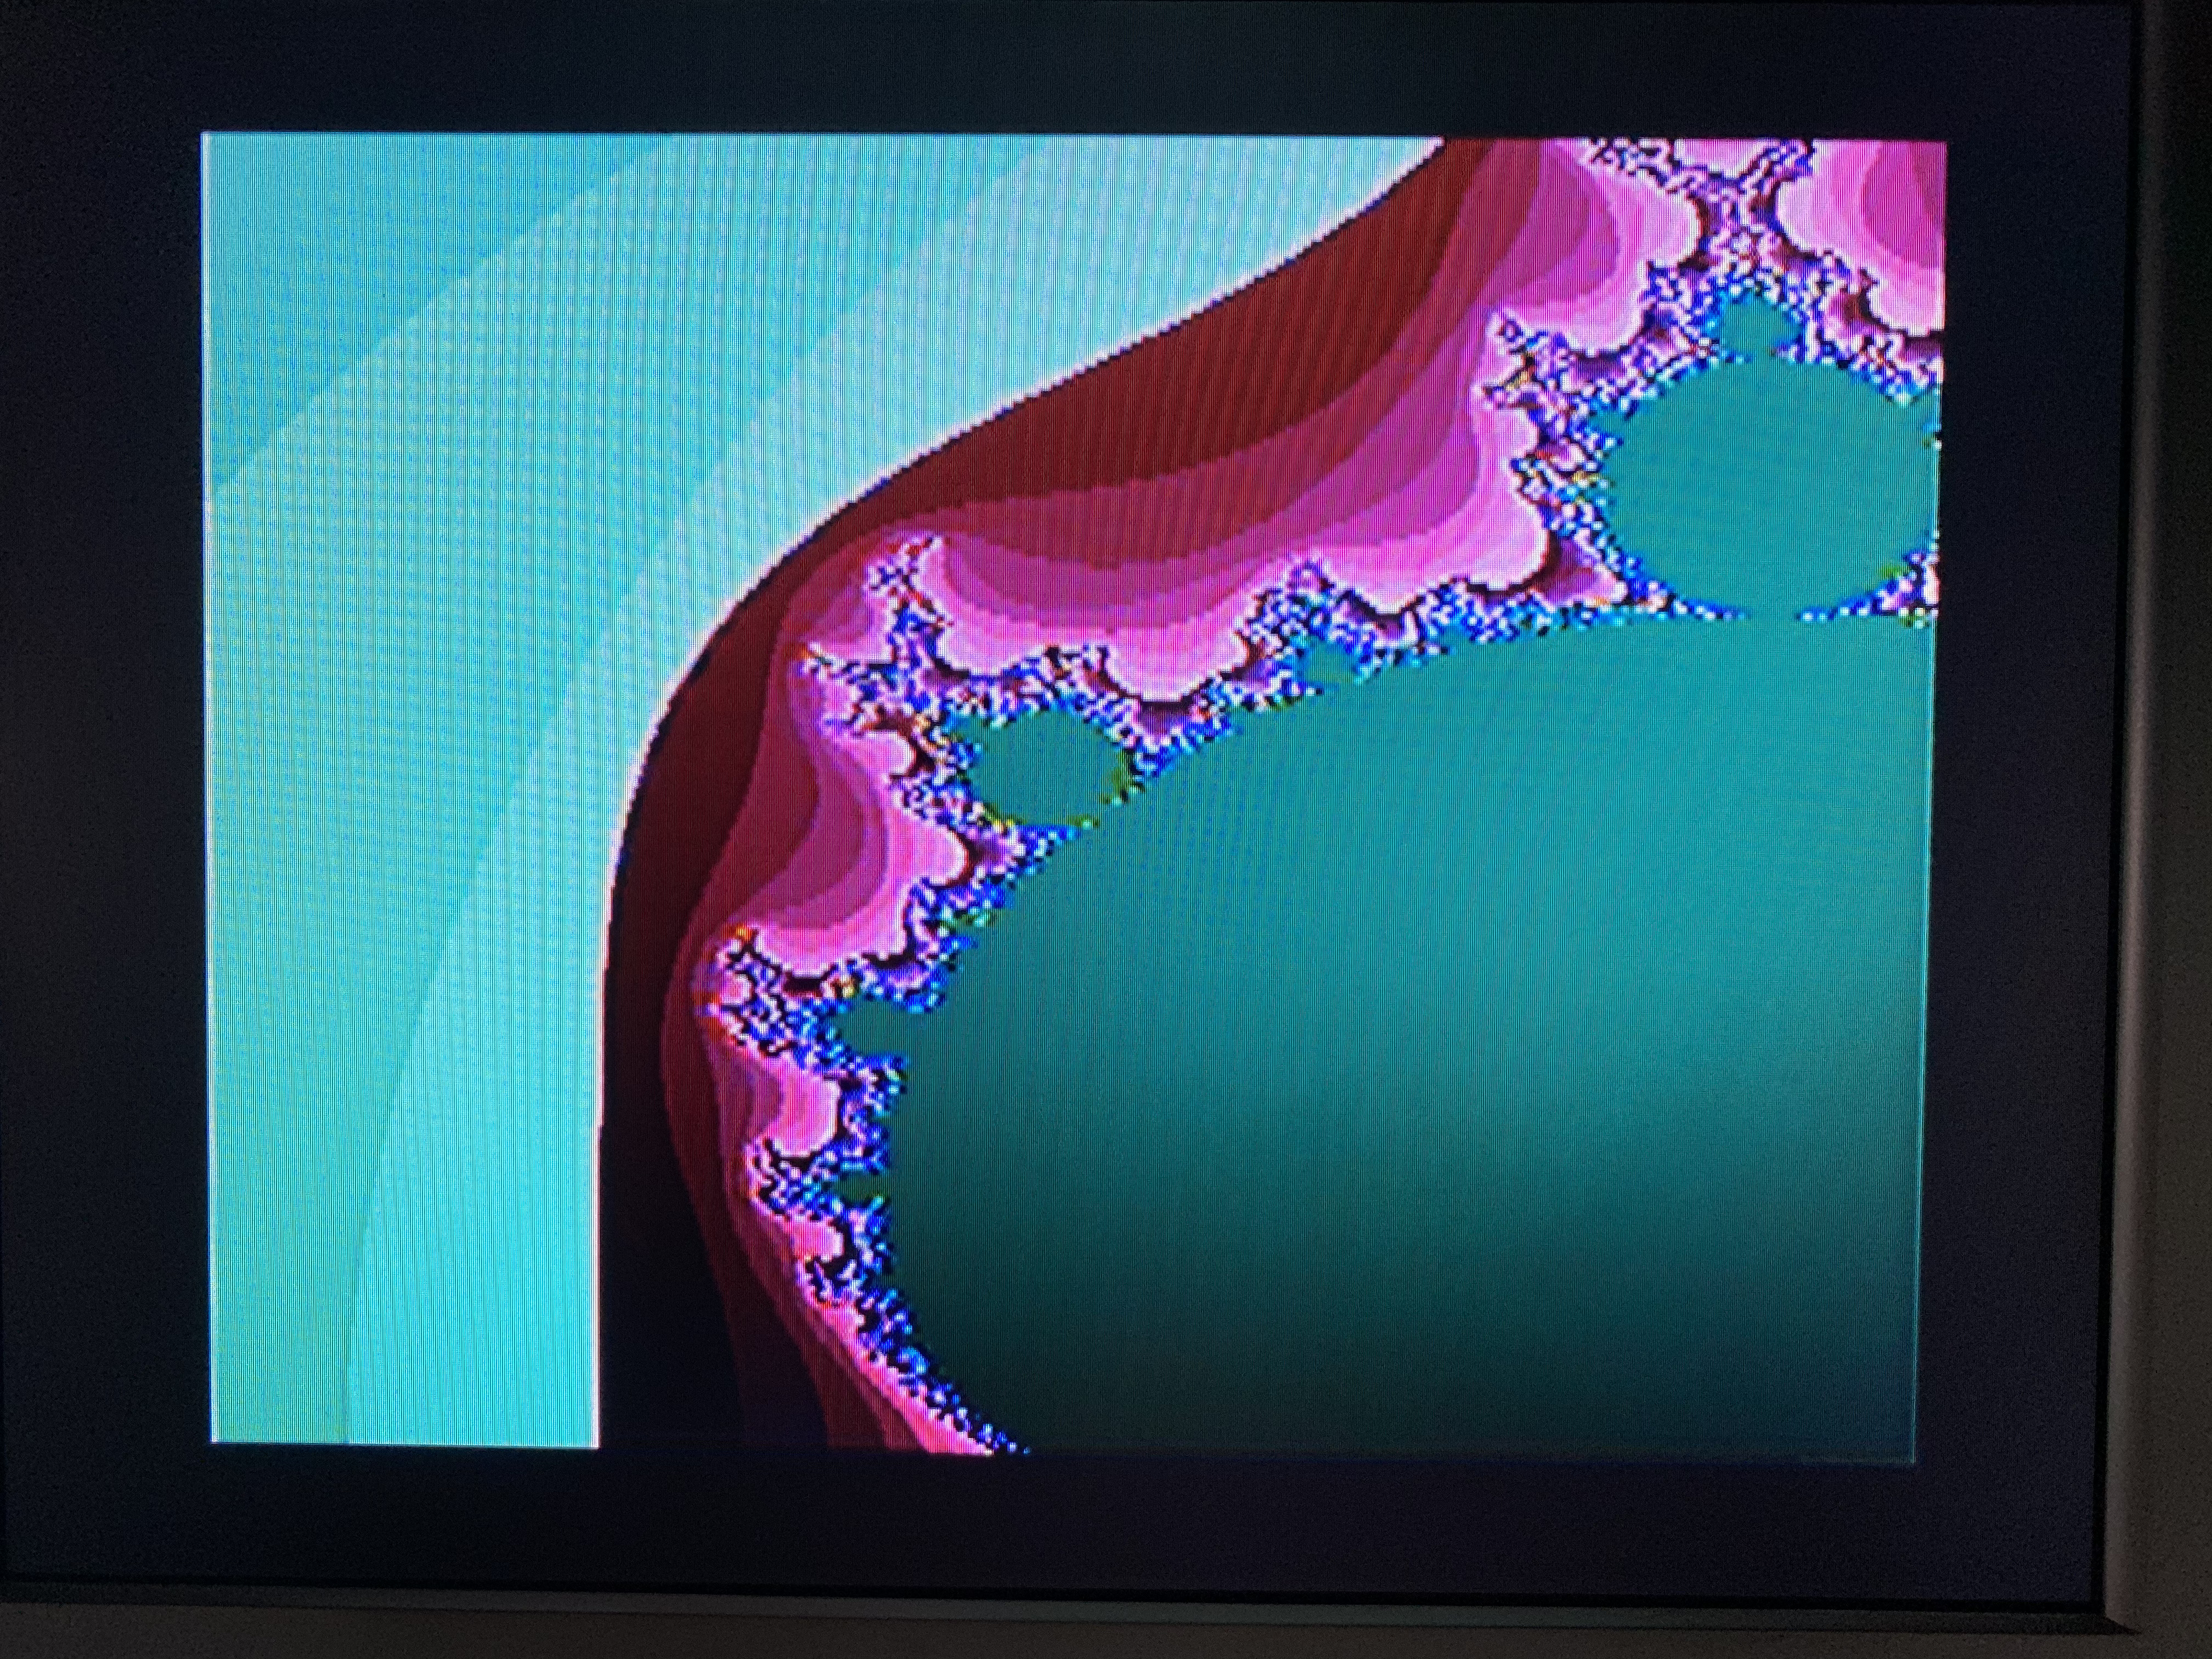
After I got it all working, I quickly whipped up this naive mandelbrot rendering program:

1 colsalt=RND(1)255
2 xoffset=(RND(0)
3)
3 yoffset=(RND(0)2)-1
4 scale=RND(0)
RND(0)
10 FOR yp=0 TO PSIZE(1)
20 FOR xp=0 TO PSIZE(0)
30 x=0
40 y=0
50 x0=((xp/PSIZE(0))scale)-0.5+xoffset
60 y0=((yp/PSIZE(1))
scale)-0.5+yoffset
70 iteration=0
80 maxiteration=100
90 WHILE xx+yy<=(22) AND iteration<maxiteration
100 xtemp=x
x-yy+x0
110 y=2
x*y+y0
120 x=xtemp
130 iteration=iteration+1
140 WEND
150 IF iteration<>maxiteration THEN c=iteration ELSE c=0
160 PSET xp,yp,c+colsalt MOD 255
170 NEXT
180 NEXT
200 GOTO 1


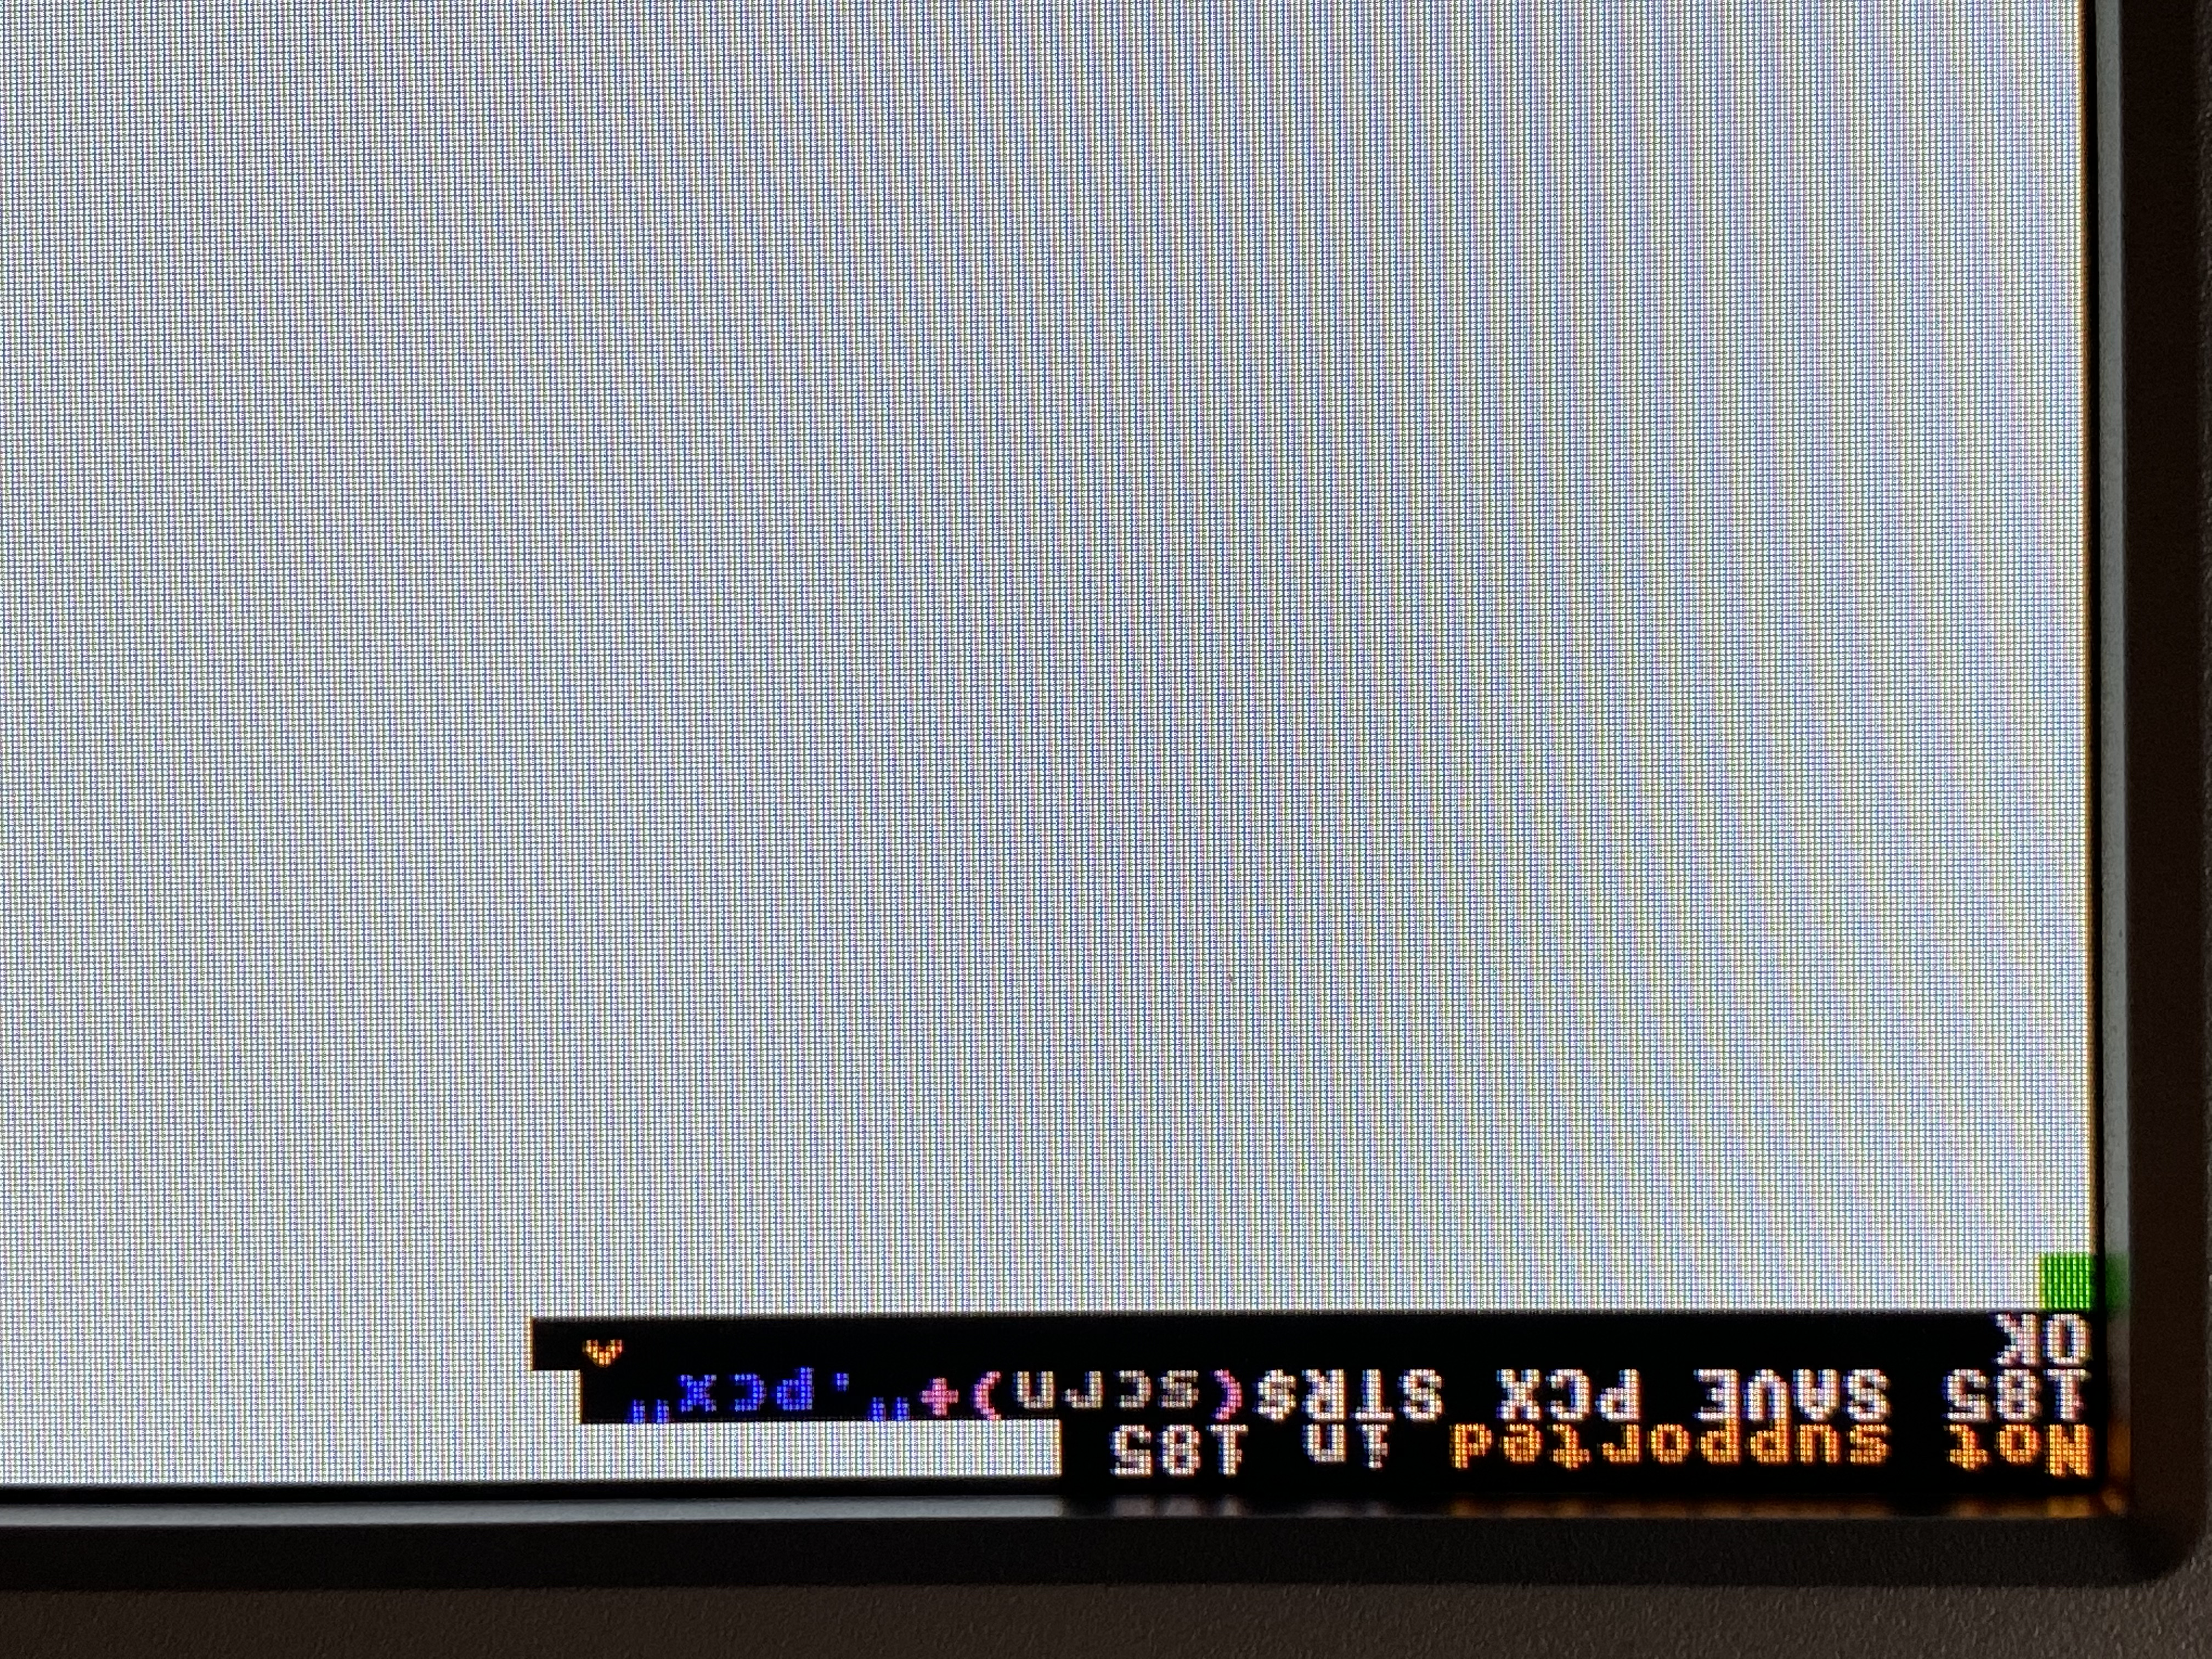
One problem I encountered was with the classic BASIC maze drawing program:

10 IF RND(0)>0.5 THEN PRINT "/"; ELSE PRINT "\";
20 WAIT 10
30 GOTO 10

I left this running for a few hours while I was doing other things and came back to find that it had stopped adding new characters. It hadn't crashed, it's just like it reached the limit of the amount it could print.

That's awesome! Yes, the video chip pins are really delicate. One of my boards got one a little bent, but luckily not in a fatal way.
I'll check your programs. Thanks! Glad to have more people around. 😄

Wonderful!

Mandelbrot

This doesn't run in the H3 version though, because it seems "SCALE" is a command in that version.

It's easier to get interesting results by manually entering coordinates into lines 2 and 3 and choosing somewhere on the boundary, but I quite like to tweak it to dump each image to a pcx on the sd card, leave it on random and return a lot later to see what treasures I can find!

Just ran this on the H3 after tweaking as Dmian noted. Very very cool. I'll tried your maze code too and commented out line 20 so it would print faster. It ran for a few minutes without issues but I'll have to try on the original hardware. Thanks for sharing your programs and welcome to the club!

    Peek Did you do something else to the program?
    I was getting a second error at line 160 (some value was probably too big) and was thinking the program may need a SCREEN command at the beginning or something.

    • Peek replied to this.

      Dmian
      SCALE is a new command that deals with sprites on the H3 version. In order to make this code work for the H3 just change the variable named SCALE to something else on line 4, 50 & 60. I also had to change line 10 and 20 to:
      10 FOR yp=0 TO PSIZE(1)-1
      20 FOR xp=0 TO PSIZE(0)-1

      Thanks for pointing out those tweaks. What's the render speed like on H3?

      I should say that anyone has my permission to do whatever with this code btw. It was just a quick exercise to test out the system but I guess with some correction and simple interactivity it could be a good thing to have with the rest of the example programs. I might spend some time on it when I'm done with the rest of the project.

        Regarding render speed, I have not tried it on the original hardware yet but the H3 is quoted as roughly 10x as fast. It has to render 20 times the number of pixels though @ 1920x1080 (versus 460x224 w/ screen 1). And it's definitely a cool demo to have. It would be awesome to add a cursor and a ''zoom window' function.

        Dmian That's refreshingly nippy compared to the speed I'm rendering at for sure.

        I definitely think some sort of cursor-based manual selection is in order. Random coords can be a nice surprise sometimes but the odds are very high that it will land in a plain area, which doesn't make for a very satisfying demo.

        The images in the top post were rendered in SCREEN 10, although I was slightly cheeky and stretched them x2 in the vertical for upload. I left it rendering in SCREEN 4 today.

        Here are some choice outputs from that session:


        Here are a couple @ 1920x1080 (screen 20), each took about 8-10 minutes to render.

        Sorry, dumb question: how do you guys make the screen capture? You use SAVE PCX?

          Dmian That's right. I just made a new variable that gets incremented every render then SAVE PCX STR$(variable)+".pcx" or something like that.

          Exactly. Also, for what it's worth, on the original hardware you can press the Print Screen key at any time and it will save a screenshot in the current working directory.

            Weird, I'm getting an error...

            Error - Not Supported

            Could it be that a different routine is implemented and the original one is. not working anymore? I ask because Ulrich wrote this:

            • loading and saving of various image file formats (PNG, JPG, BMP etc.)

            So maybe it's now SAVE PNG, or SAVE JPG or SAVE BMP... Any idea?
            (I really prefer PNG over PCX, since none of the programs I have for image processing support PCX)

            • Peek replied to this.

              Dmian I had the same on the H3. After some trial and error I was able to save as a .png like this (assuming a counter variable named fracount):

              SAVE PCX "FRACTAL"+STR$(fracount)+".PNG" POS 0,0 SIZE PSIZE(0),PSIZE(1)

              I have disabled saving PCX files on H3 because there is no good way to convert the 32-bit physical pixel format back to an 8-bit image file. You can use any other format, though. The output format is determined by the file extension, so simply changing .pcx to .png in that example should do it.

              [Edit: And I guess the preferred way to do this is now SAVE IMAGE, although SAVE PCX is kept as an alias for compatibility.]

              Powered by: FreeFlarum.
              (remove this footer)