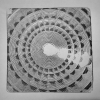
First kit assembly + mandelbrot

Thanks for pointing out those tweaks. What's the render speed like on H3?
I should say that anyone has my permission to do whatever with this code btw. It was just a quick exercise to test out the system but I guess with some correction and simple interactivity it could be a good thing to have with the rest of the example programs. I might spend some time on it when I'm done with the rest of the project.
Regarding render speed, I have not tried it on the original hardware yet but the H3 is quoted as roughly 10x as fast. It has to render 20 times the number of pixels though @ 1920x1080 (versus 460x224 w/ screen 1). And it's definitely a cool demo to have. It would be awesome to add a cursor and a ''zoom window' function.
- Edited
SanguineBrah I captured the program running on my OrangePi Lite:
https://damianvila.com/basicengine/mandelbrot.mp4
I set the SCREEN mode to 256x224 because it seemed to run nice in that configuration.
Hope you like it. 
Dmian That's refreshingly nippy compared to the speed I'm rendering at for sure.
I definitely think some sort of cursor-based manual selection is in order. Random coords can be a nice surprise sometimes but the odds are very high that it will land in a plain area, which doesn't make for a very satisfying demo.
The images in the top post were rendered in SCREEN 10, although I was slightly cheeky and stretched them x2 in the vertical for upload. I left it rendering in SCREEN 4 today.
Here are some choice outputs from that session:


Here are a couple @ 1920x1080 (screen 20), each took about 8-10 minutes to render.


Sorry, dumb question: how do you guys make the screen capture? You use SAVE PCX?
Dmian That's right. I just made a new variable that gets incremented every render then SAVE PCX STR$(variable)+".pcx" or something like that.
- Edited
Exactly. Also, for what it's worth, on the original hardware you can press the Print Screen key at any time and it will save a screenshot in the current working directory.
- Edited
Weird, I'm getting an error...
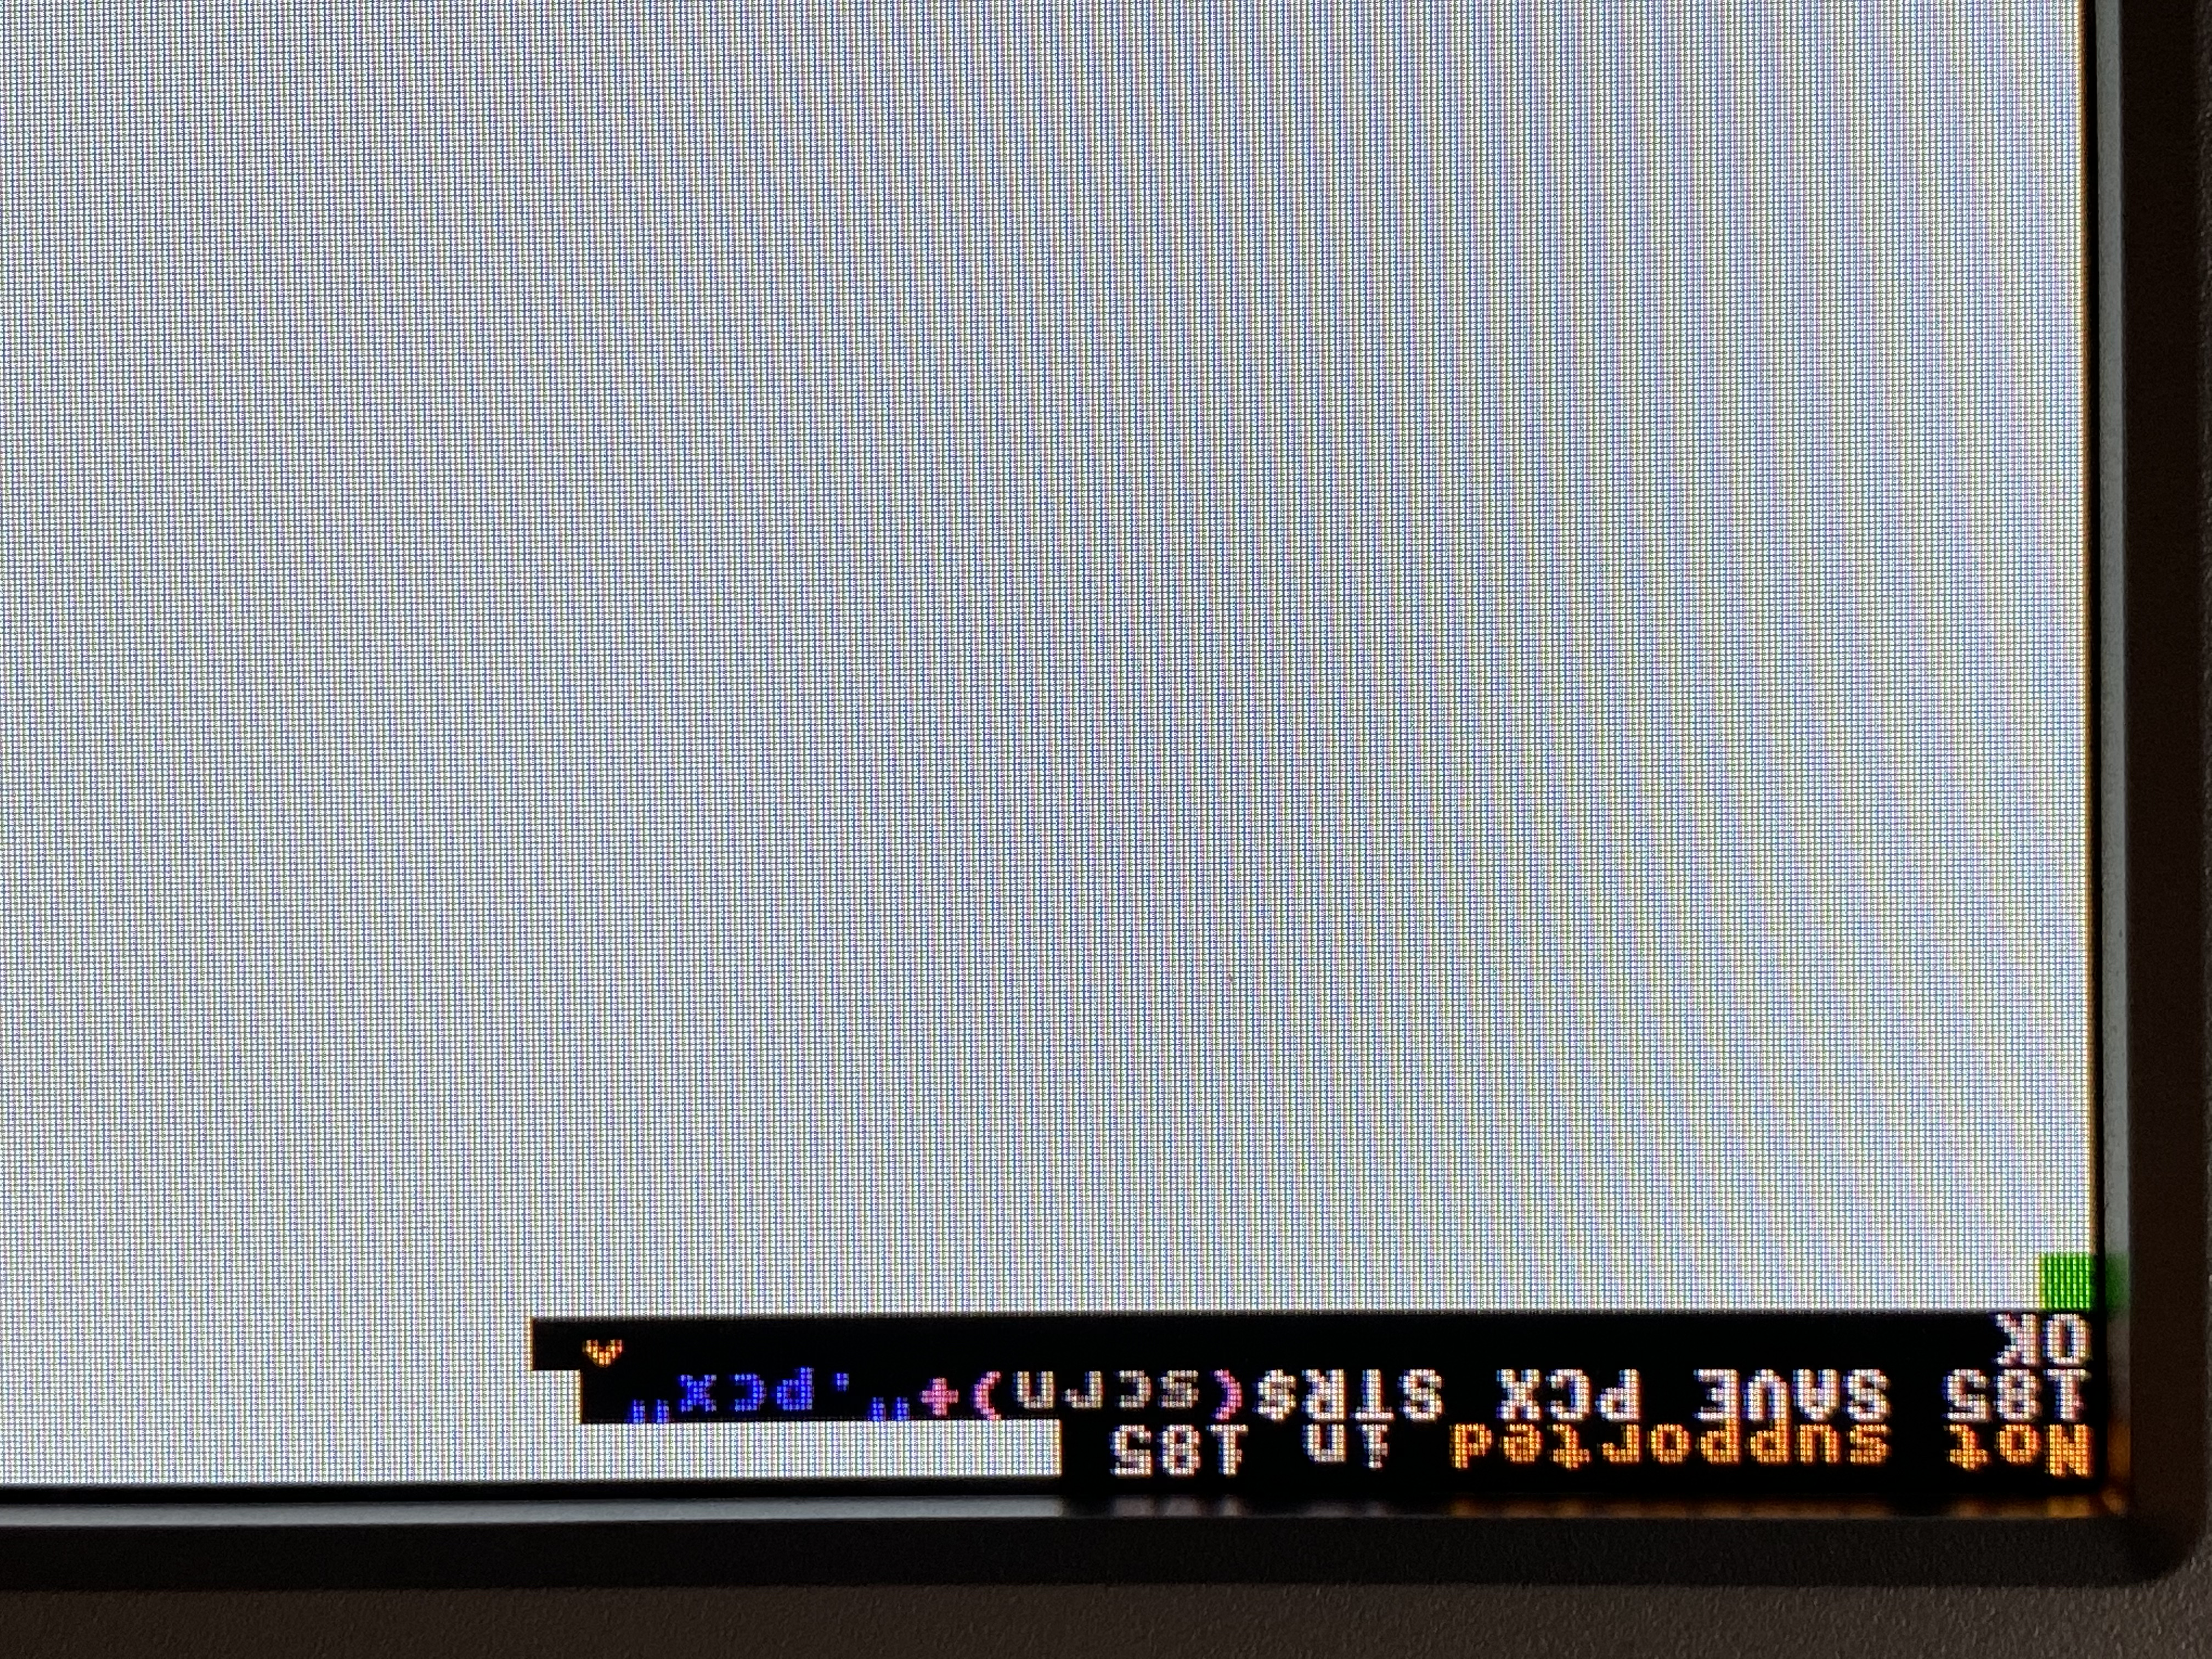
Could it be that a different routine is implemented and the original one is. not working anymore? I ask because Ulrich wrote this:
- loading and saving of various image file formats (PNG, JPG, BMP etc.)
So maybe it's now SAVE PNG, or SAVE JPG or SAVE BMP... Any idea?
(I really prefer PNG over PCX, since none of the programs I have for image processing support PCX)
- Edited
I have disabled saving PCX files on H3 because there is no good way to convert the 32-bit physical pixel format back to an 8-bit image file. You can use any other format, though. The output format is determined by the file extension, so simply changing .pcx to .png in that example should do it.
[Edit: And I guess the preferred way to do this is now SAVE IMAGE, although SAVE PCX is kept as an alias for compatibility.]
- Edited
Solved! The command is now SAVE IMAGE (that's what worked for me) and I got this image:


Edit: reading Ulrich's answer I guess SAVE and the file extension is just enough...
No, I really mean SAVE IMAGE "filename.png". Sorry if that wasn't clear.
While I was waiting for various parts to arrive, I had a crack at making an interactive version of this. (Link)
I needed to have the cursors appear at the edge of the screen in order to not interfere with the render, which sacrifices 8 pixels at the bottom and right edges. They flicker/disappear on some screen modes sometimes but serve their purpose.
Controls are: dpad/arrow keys to move the cursor, square/Z to zoom out, x/X to zoom in on the cursor position, circle/S to reroll the colours, and triangle/A to save the render as a pcx.
Hopefully everything works okay. I'm not a programmer or a maths guy at all so I'm sure there are mistakes and the code is not very tidy but it seems to be basically functional.
It works very nicely. I like how you implemented the zoom and screenshot. For not being a programmer / math nerd you did an awesome job!